1 安装包
-rw-r--r--. 1 oracle oinstall 2109004737 Jun  3 11:41 em13400_linux64-2.zip
-rw-r--r--. 1 oracle oinstall 2047749474 Jun  3 11:38 em13400_linux64-3.zip
-rw-r--r--. 1 oracle oinstall 2117312528 Jun  3 11:42 em13400_linux64-4.zip
-rw-r--r--. 1 oracle oinstall  808014516 Jun  3 11:18 em13400_linux64-5.zip
-rw-r--r--. 1 oracle oinstall 2143125187 Jun  3 11:43 em13400_linux64-6.zip
-rw-r--r--. 1 oracle oinstall 1879163226 Jun  3 11:47 em13400_linux64-7.zip
-rwxr-xr-x. 1 oracle oinstall 1623577684 Jun  3 11:32 em13400_linux64.bin
2 安装依赖包
yum install -y binutils*
yum install -y compat-libstdc*
yum install -y elfutils-libelf*
yum install -y gcc*
yum install -y glibc*
yum install -y ksh*
yum install -y libaio*
yum install -y libgcc*
yum install -y libstdc*
yum install -y make*
yum install -y sysstat*
yum install libXp* -y
yum install -y glibc-kernheaders
rpm -q --queryformat %-{name}-%{version}-%{release}-%{arch}"\n" \ compat-libstdc++-33 glibc-kernheaders glibc-headers libaio libgcc glibc-devel xorg-x11-deprecated-libs
3 修改服务器参数
vi /etc/sysctl.conf
fs.aio-max-nr = 1048576
fs.file-max = 6815744
kernel.shmall = 2097152
kernel.shmmax = 536870912
kernel.shmmni = 4096
kernel.sem = 250 32000 100 128
net.ipv4.ip_local_port_range = 9000 65500
net.core.rmem_default = 262144
net.core.rmem_max = 4194304
net.core.wmem_default = 262144
net.core.wmem_max = 1048586

vi /etc/security/limits.conf

oracle           soft    nproc   2047
oracle           hard    nproc   16384
oracle           soft    nofile  1024
oracle           hard    nofile  65536
oracle           hard    stack   10240
4 创建oracle 相关用户
# 使用root用户,进行如下操作:
# 创建oinstall组
groupadd  -g 5000 oinstall
# 创建dba组
groupadd  -g 501 dba
# 创建oracle用户
useradd -g oinstall  -G  dba  oracle
# 创建数据库安装目录
mkdir -p /oemcc/u01/app/oracle/product/12.1.0/dbhome_1
chown -R oracle:oinstall /oemcc/u01/
5 手工安装oralce 12C 数据库
[root@oemcc database]# ls
install  response  rpm  runInstaller  sshsetup  stage  welcome.html
[root@oemcc database]#
[root@oemcc database]#
[root@oemcc database]# ./runInstaller
安装数据库步骤略去
注意: 不要选PDB模式
6 修改库参数
alter system set parallel_min_servers=0;
alter system set session_cached_cursors=400 scope=spfile;
alter system set log_buffer=8M scope=spfile;
alter system set memory_max_target=7G scope=spfile;
alter system set memory_target=7G scope=spfile;
alter system set open_cursors=600 scope=spfile;
alter system set pga_aggregate_target=2G scope=spfile;
alter system set processes=800 scope=spfile;
alter system set session_cached_cursors=400 scope=spfile;
alter system set sga_max_size=5G scope=spfile;
alter system set sga_target=5G scope=spfile;
alter system set shared_pool_size=1G scope=spfile;

alter database add  logfile group 4  size 200M;

alter system set "_allow_insert_with_update_check"=TRUE scope=both;
alter system set "_optimizer_nlj_hj_adaptive_join"= FALSE scope=both sid='';
alter system set "_optimizer_strans_adaptive_pruning" = FALSE scope=both sid='';
alter system set "_px_adaptive_dist_method" = OFF scope=both sid='';
alter system set "_sql_plan_directive_mgmt_control" = 0 scope=both sid='';
alter system set "_optimizer_dsdir_usage_control" = 0 scope=both sid='';
alter system set "_optimizer_use_feedback" = FALSE scope=both sid='';
alter system set "_optimizer_gather_feedback" = FALSE scope=both sid='';
alter system set "_optimizer_performance_feedback" = OFF scope=both sid='';

alter system set "_allow_insert_with_update_check"=TRUE;
alter system set "_optimizer_nlj_hj_adaptive_join"= FALSE scope=both ;
alter system set "_optimizer_strans_adaptive_pruning" = FALSE scope=both ;
alter system set "_px_adaptive_dist_method" = OFF scope=both ;
alter system set "_sql_plan_directive_mgmt_control" = 0 scope=both ;
alter system set "_optimizer_dsdir_usage_control" = 0 scope=both ;
alter system set "_optimizer_use_feedback" = FALSE scope=both ;
alter system set "_optimizer_gather_feedback" = FALSE scope=both ;
alter system set "_optimizer_performance_feedback" = OFF scope=both ;
7 开始安装
./em13200_linux64.bin
[oracle@OEM OEMCC]$ ./em13200_linux64.bin
0%.........................................................................100%
Launcher log file is /tmp/OraInstall2019-11-29_12-48-56PM/launcher2019-11-29_12-48-56PM.log.
Starting Oracle Universal Installer

Checking if CPU speed is above 300 MHz.   Actual 1895.471 MHz    Passed
Checking monitor: must be configured to display at least 256 colors.  Actual unknown.   Failed <<<<
Checking swap space: must be greater than 512 MB.   Actual 7999 MB    Passed
Checking if this platform requires a 64-bit JVM.   Actual 64    Passed (64-bit not required)

Some system prerequisite checks failed.
You must fulfill these requirements before continuing.

Continue? (yes [y] / no [n]) [n]
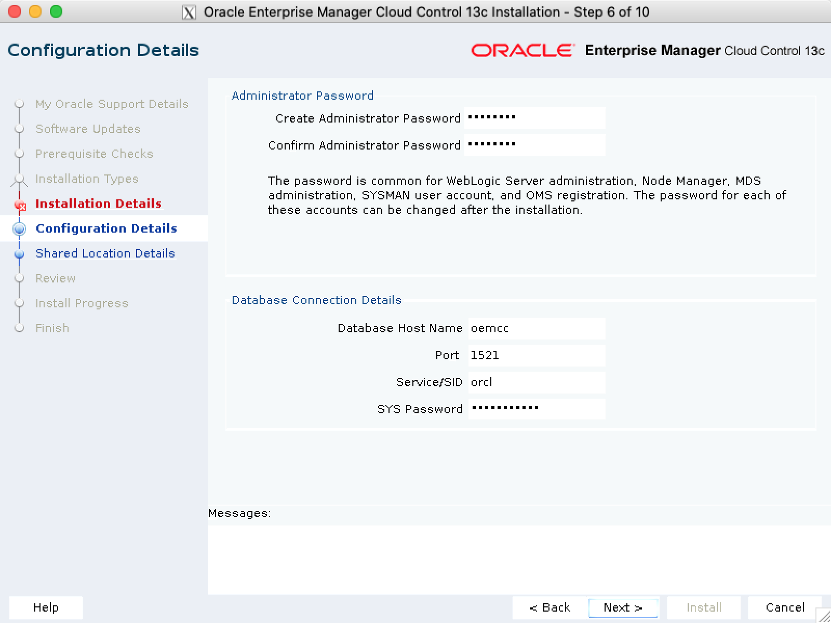
8 重要参数信息
9 安装完成
This information is also available at:

            /home/oracle/app/oemcc/install/setupinfo.txt

See the following for information pertaining to your Enterprise Manager installation:


Use the following URL to access:

            1. Enterprise Manager Cloud Control URL: https://oemcc:7803/em
            2. Admin Server URL: https://oemcc:7102/console
            3. BI Publisher URL: https://oemcc:9803/xmlpserver/servlet/home

The following details need to be provided while installing an additional OMS:

            1. Admin Server Host Name: oemcc
            2. Admin Server Port: 7102

You can find the details on ports used by this deployment at : /home/oracle/app/oemcc/install/portlist.ini


 NOTE:
 An encryption key has been generated to encrypt sensitive data in the Management Repository. If this key is lost, all encrypted data in the Repository becomes unusable.

 A backup of the OMS configuration is available in /home/oracle/app/gc_inst/em/EMGC_OMS1/sysman/backup on host oemcc. See Cloud Control Administrators Guide for details on how to back up and recover an OMS.

 NOTE: This backup is valid only for the initial OMS configuration. For example, it will not reflect plug-ins installed later, topology changes like the addition of a load balancer, or changes to other properties made using emctl or emcli. Backups should be created on a regular basis to ensure they capture the current OMS configuration. Use the following command to backup the OMS configuration:
/home/oracle/app/oemcc/bin/emctl exportconfig oms -dir <backup dir>
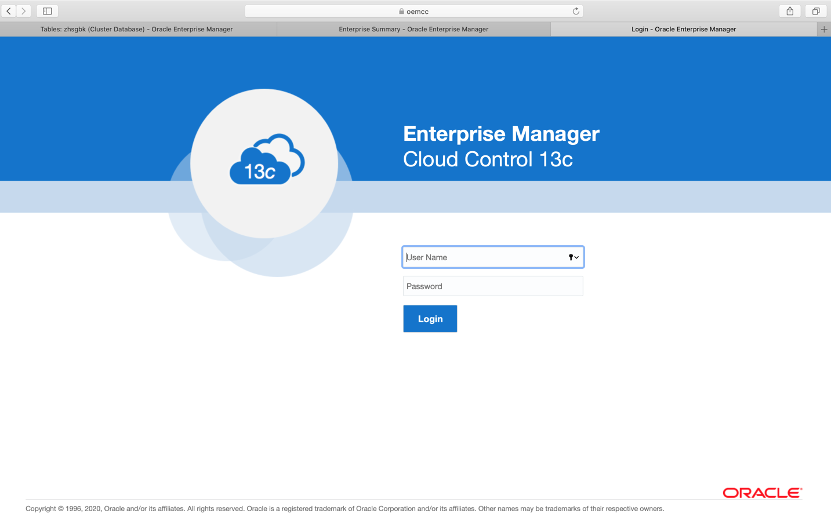
10 登陆界面
https://192.168.100.200:7803/em/
sysman/Passw0rd
10.1 登陆界面
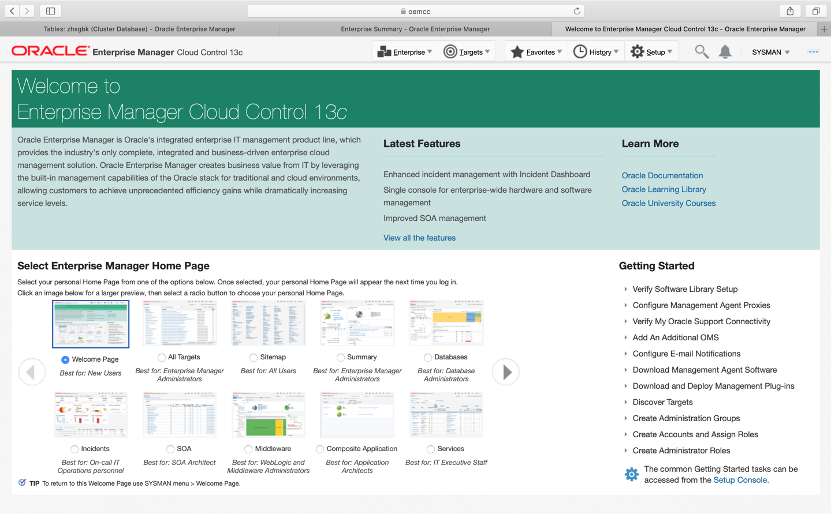
10.2 首页
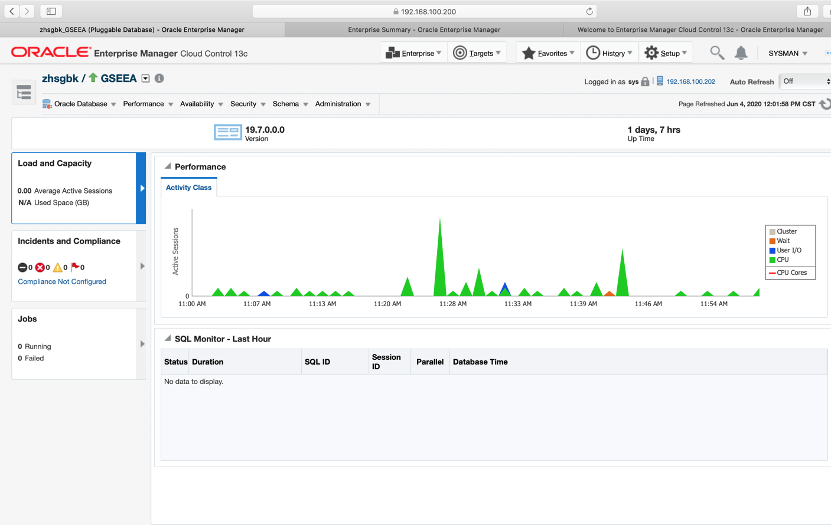
10.3 数据库界面
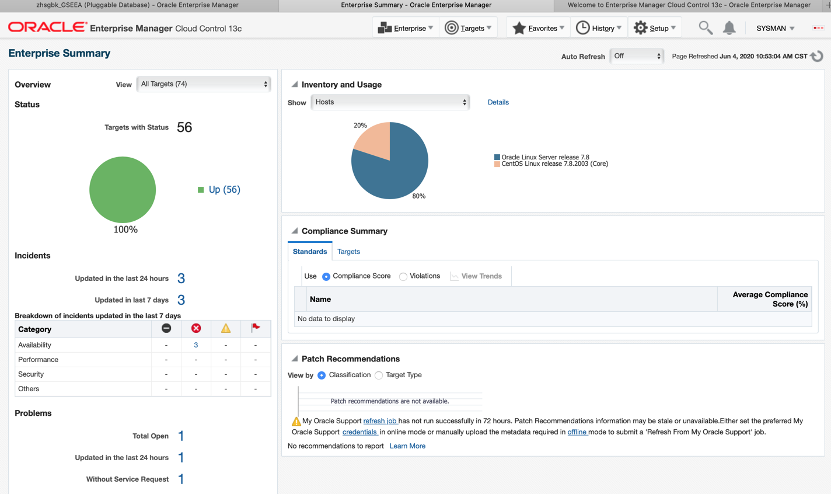
10.4 纵览界面
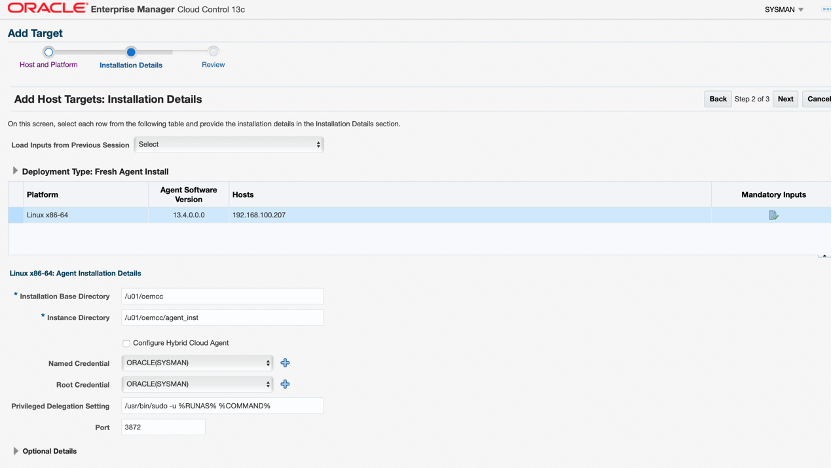
11 安装代理
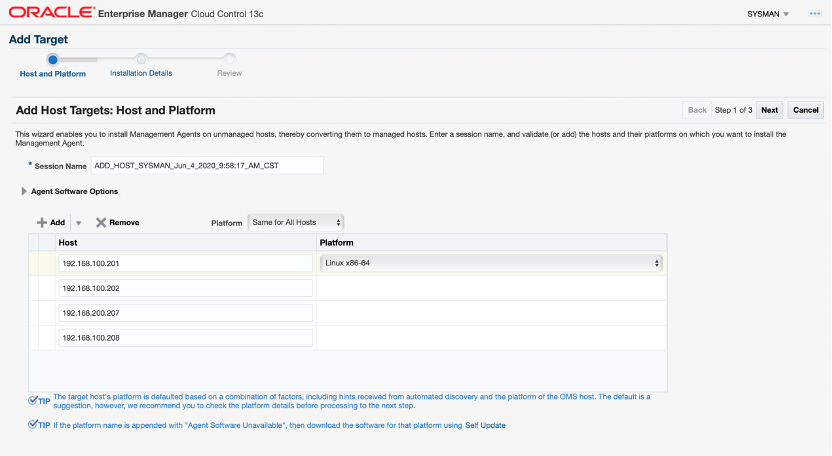
11.1 输入安装服务器
11.2 输入登陆密钥信息
12 监控纵览
